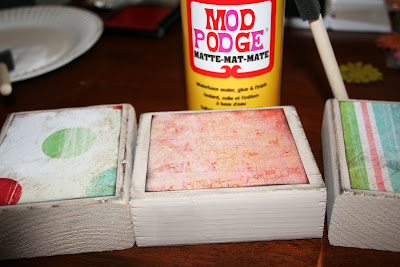
Easter is just a HOP, SKIP & A JUMP away from being here. As you already know I {love} wood crafts...blocks, boards anything! So I had some extra blocks in my block box and decided to do an Easter {hop} set! So me and my momma spent the afternoon makin these beauties! They turned out so cute! I love them!! So here is how I did them:
{HOP}
Items Needed:
3- 2x4x4 blocks
Easter-ish scrapbooking paper
Letters H, O, & P
Tan Paint
Distressing Ink (in my case a stamp pad)
Embellishments (ribbon, flowers, & buttons)
Mod podge
Scissors
Paint brush
Sanding block
 Step 1: Take and paint your 3 blocks of wood with your tan paint
 Step 2: After your blocks have dried really well...sand them down to give them the weathered look :)
 Step 3: Measure and cut your Easter-ish paper into squares. I leave about a 1/2 in. border of wood around the paper. Distress your paper with your ink or stamp pad :)
 Distress your blocks if you want to


freakin LOVE these blocks...I dont know how you keep doing it...I love this kind of stuff. Thanks for all the tutorials...you are so CRAFTY!
ReplyDelete