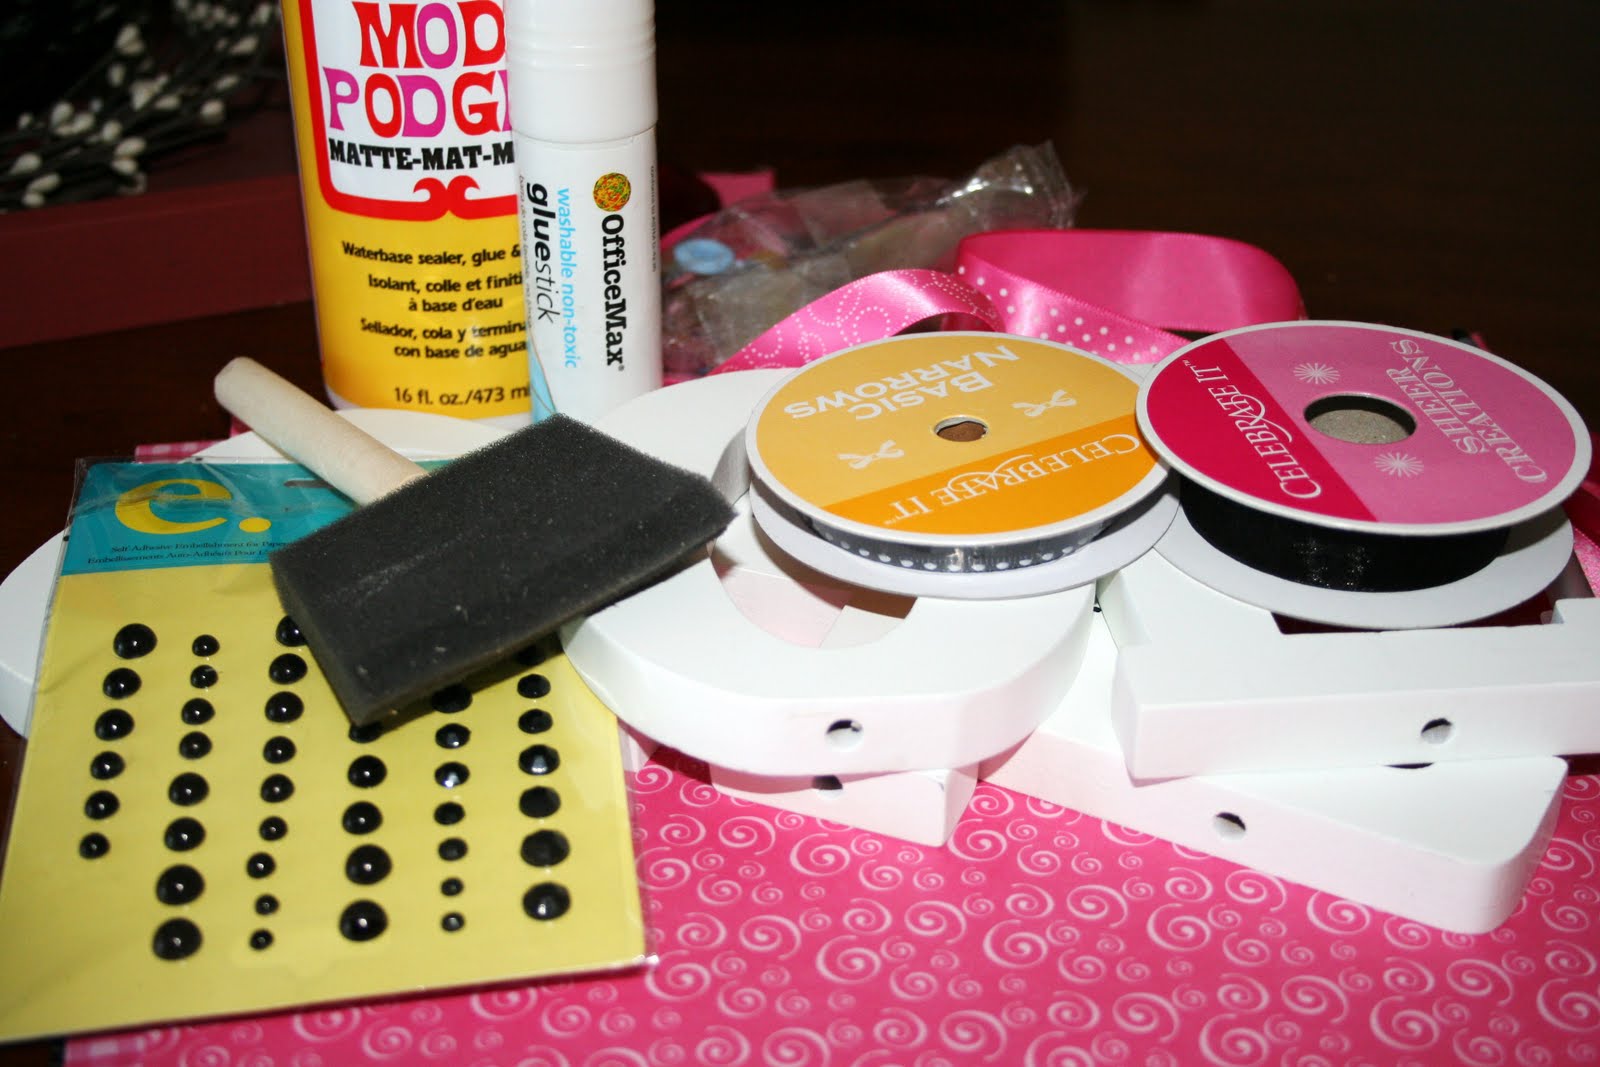
Wednesday, April 28, 2010

Alphabet Book...

My lil man is obsessed with his ABC's right now! I won't complain he loves to learn! So I decided to make him an ABC book that he would learn the letters with that associate things he knows and pictures of him and his family in them! So here we go!!
{Alphabet Book}
Item's Needed:
13-18 sheets of coordinating scrapbook paper
1 pkg of white cardstock
Letters A-Z typed out.. ex. A is for Animals...etc.
Distressing ink
Cutter/Scissors
Glue stick
Place to Laminate
Pictures that coordinate
2 rings to hold all the pages together
Ribbon
(not all pictured! sorry)

Step 1: Take your cardstock and measure it right in half and cut enough to have 15 halfs! 13- 2 sided for the letters and then a front and a back.
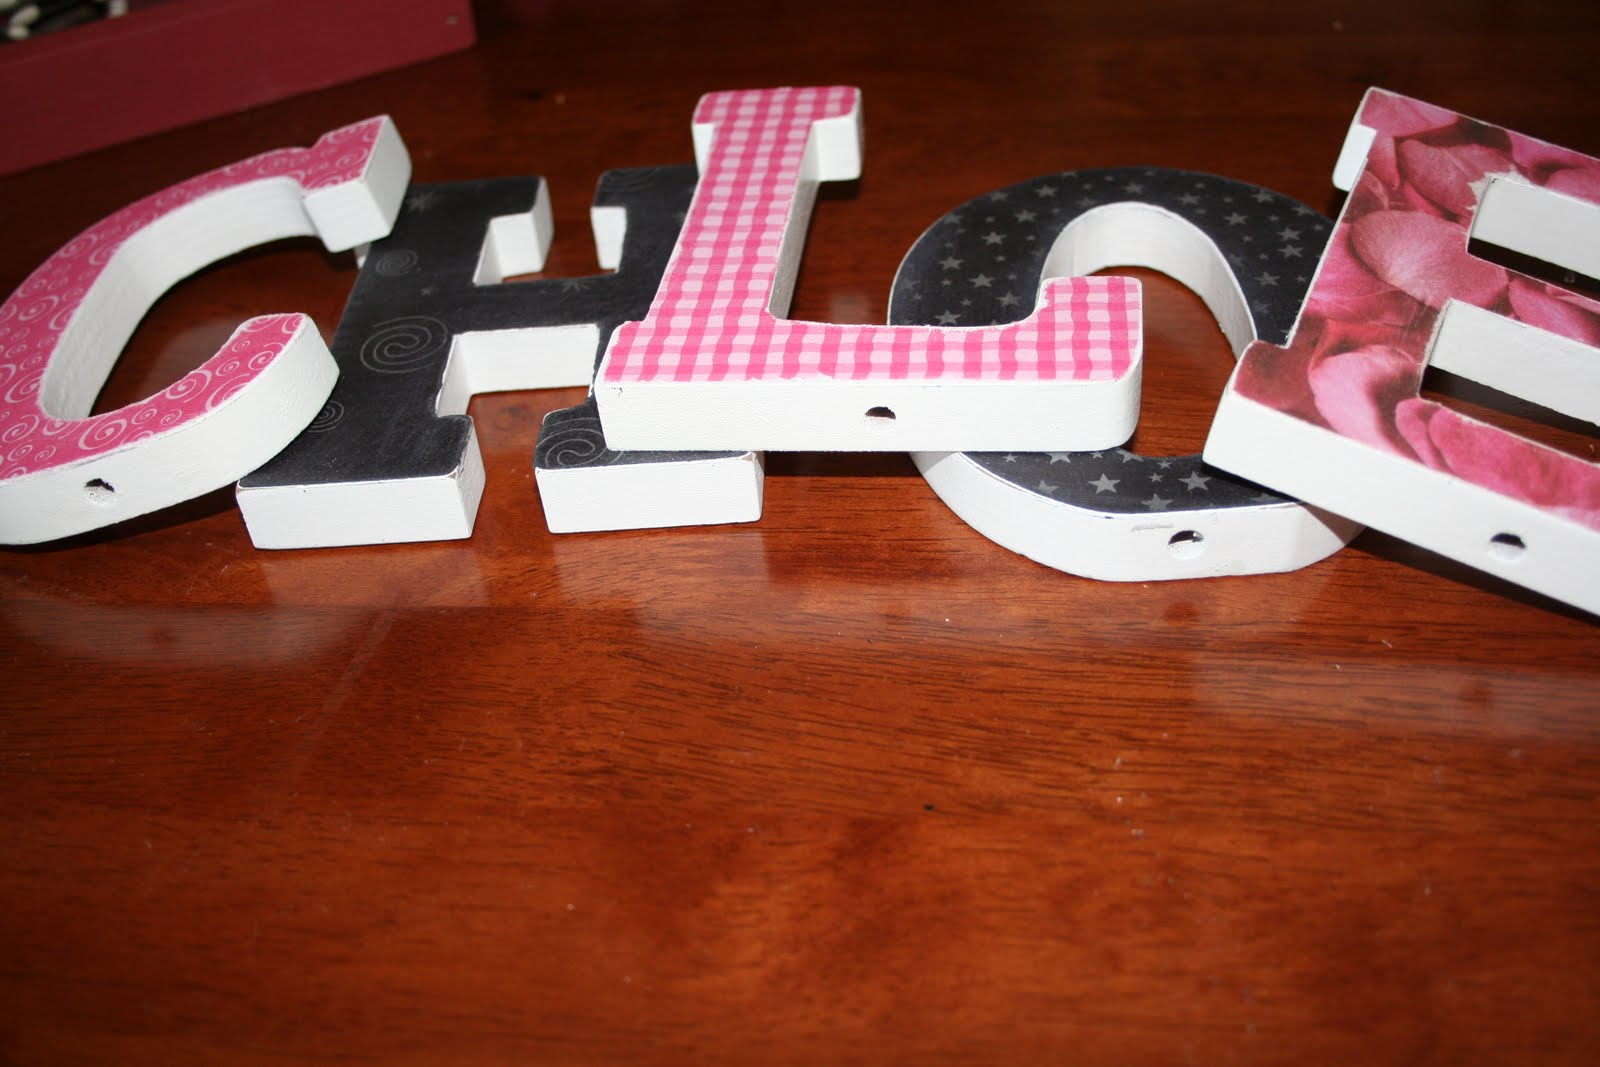
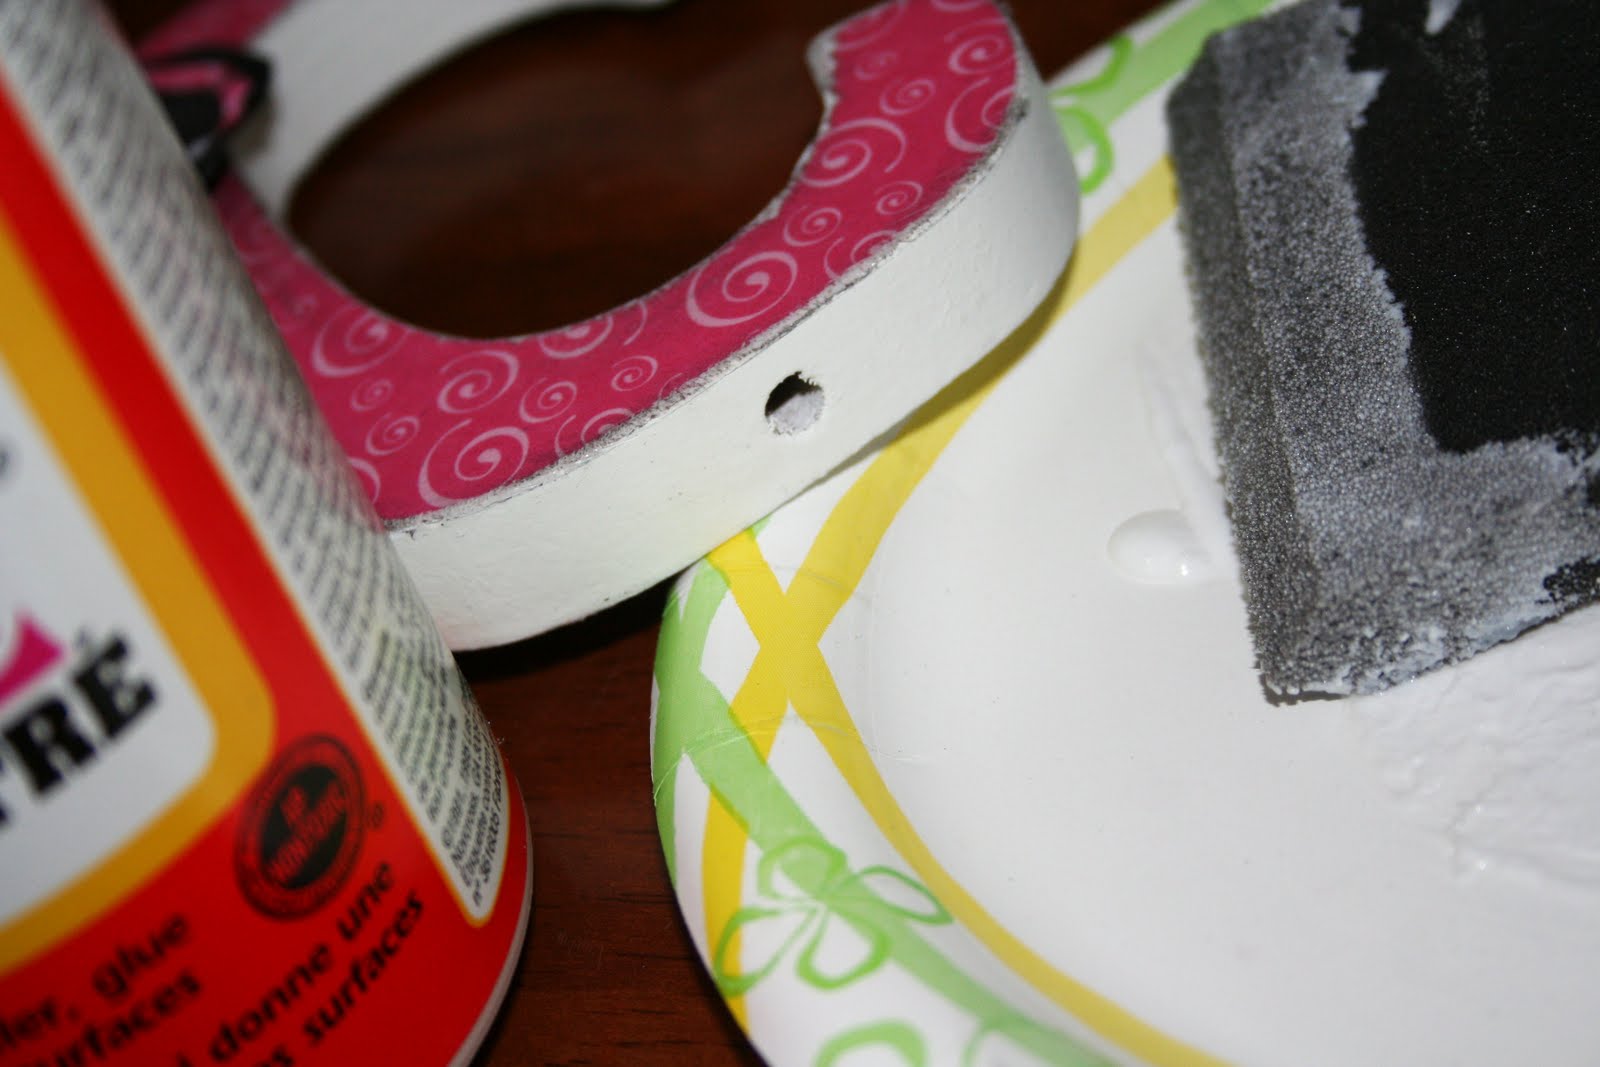
Step 2: Take and cut your letters out...I ripped mine and then I distressed the edges of them all.
Step 3: Measure and cut all of your scrapbooking paper. I did a different paper for each letter and did a pattern!
Step 4: Glue all your scrapbooking paper and letters to the white cardstock.
One side had the "A" and the other side (flipping it up like a book) had the "B"
Step 5: Print all your coordinating pictures and glue them next to the letters.

Step 6: Take in to Office Max or and office supply type store and get them laminated.. This can be spendy but will make it so the book lasts a long time!
Step 7: Line each page up and punch holes through all of them. Then connect with your rings!
Step 8: Tie on some coordinating ribbon and...
You are done!!! Let your kiddo/kiddos enjoy it! Perfect for church, learning and anytime reading!! :)
{alphabet book}

Friday, April 23, 2010

Winner....

I asked random generator this morning which number should be our winner!!! It told me that number 1 should win!!! So KRISTI COPELAND is our winner today!!!!! You will get these beauties:
very soon!!! Thank you all for participating and most of all for all your super nice comments and for following. More spring crafts and tutorials are on there way this week but for now I am off to a weekend of more photoshoots!!! Have a great weekend all! :)

Wednesday, April 21, 2010

It's a girl thing...

UPDATE: GIVEAWAY CLOSED!!

It is time for another giveaway!!!! Today I am giving away these beauties:

They are super cute to add that extra cuteness to an outfit. If your little girlie is as girlie as mine..they want "pretties" and everything all the time!! So if you would like this bracelet and necklace set here's what you gotta do:

1. Be a follower...if your not click "follow" on the right tab.
2. Leave me a comment and tell me what your favorite color is! :)
3. Leave your email address so I know how to contact you if you have won!


Here are a few of the pics of my little girlie girl wearing this set! She was upset when I had to take them away!! :)


Love this girlie girl!! :)
{its a girl thing}
* Winner to be announced Friday morning GOOD LUCK!*

Monday, April 19, 2010

Mommy's Day...

Mother's Day is right around the corner and what a great day it is to show appreciation for the mom's/grandma's in our lifes. Here are a few ideas (without pictures sorry!) of what I have done in the past:

WHISK GIFT
Items Needed:
1 cake mix, Cake pan, a whisk, set of white or cream hot pads, hugs and kisses candies, fabric markers, paper to make a little card out of.
Take your whisk and fill it with the hugs and the kisses....Make a little note that says "Whisking you a very happy Mother's (grandma's) day filled with lots of hugs and kisses." Next take your hot pads and have your kiddos color and draw on the hot pads to personalize them! Put the cake mix the hot pads and whisk inside the cake pan and wrap it all up with a cute bow!!
APRONS:
Items Needed:
1 white apron (walmart or joanns has them)
Fabric Markers
Take your apron and trace each of your kiddos hands on them.... write above or stencil above "BEST GRANDMA/MOM HANDS DOWN"
TILE or WOOD BLOCK:
Items Needed:
1 tile or wood block
1 picture
Mod podge
Ribbon
Take your tile or your wood block( paint if you want to). Take your photo and mod podge it to the wood or the tile...press firmly to make sure there are no air bubbles....but a thin layer over top the whole thing. After it has had 12 hrs to dry really well tie a cute matching ribbon around it!! :)
~OR~
On your tile or wood block you can put the quote: "Some of my greatest BLESSINGS call me GRANDMA!"

HERE IS A SNEAK PEEK OF SOMETHING I AM WORKING ON FOR MOTHERS DAY FOR THIS YEAR!! TUTORIAL COMING SOON!! :)


{mommy's day}

Tuesday, April 13, 2010

Black & Pink...

Our Sissy has had her name in the white wooden blocks up in her room for some time...but they are soo plain! So I decided to do them {black & pink} to match her room!!! They turned out sooo super cute! I love them! Here is how I did them:

{black & pink}
Item's Needed:
White Letters for your childs name
Coordinating Scrapbook paper
Mod Podge
Paint Brush
Glue
Sanding Block
Razor Blade
Embellishments
Step 1: Take each of your letters, lay them face down on the backside of your scrapbooking paper and trace them.
Step 2: Cut all of them out.
Step 3: Do a thin layer of Mod Podge on your wooden letter and lay your paper onto the letter...press it firmly to make sure there are no air bubbles!
Step 4: Let all of them dry really well!!
Step 5: Mine weren't perfect and had to be trimmed up around the edges...so I used a Razor Blade to do so...
Step 6: Sand the edges of your block and paper to make them blend better...it also leaves a little white edge around it and is soo cute! Also if you wanted to distress them..now is the time to do it!

All sanded and ready to embellishStep 7: Do a layer of Mod podge over top every of your letters to secure the paper on
Step 8: Embellish them as you wish...buttons ribbon, and paper flowers (My new love!) (tutorial soon to show you how to make these babies)
Every letter can be the same or different...


Let them all dry very well and Enjoy!!! :)
I can't help but smile everytime I look at them they are perfect for her room!!! :)
{black & pink}

Monday, April 12, 2010

Spring Bouquet...

Here is a quick spring bouquet idea...using stuff I already had except for the flowers!! I love big bright colored flowers and they are there to greet anyone who comes in our front door!! ;) Happy Spring!!
{spring bouquet}
Item's Needed:
3 big bright flowers of your choice- you can get them for 2 bucks at Walmart
1- glass vase (used before for eggs/pinecones etc.)
2- small or 1 lg. bag of split peas
Step 1: Take your glass vase and pour in both bags of the split peas...it won't fill it up but maybe 1/3 of the way..unless you have a small vase. You can guesstimate how many you will need!
Step 2: Take your 3 bright colored flowers and stick them down into the split peas... I stuck them in at different directions.
Step 3: Set it on a bookshelf, stand, or table and ENJOY!! :)
{spring bouquet}

Wednesday, April 7, 2010

bugs...

I keep thinking if I do more and more Spring crafts maybe it will get here and stay?! I don't think its working but the crafts are dang cute!! Here is Spring craft up I came up with last night!!
{bugs}
Item's Needed:
1- old frame with 4 windows in it..or 4 small seperate frames
1- piece of springy scrapbooking paper
The Letters B, U, G, S in vinyl or rub on lettering
Green Paint
Paint brush
Embellishments
Stamp Pad/Distressing Ink
Paint brushes
Scissors
Sanding block
Step 1: Take your old frame or seperate frames and sand them down a little bit.
Step 2: Paint your frame...i had to do about 3 coats to cover the brown.
Step 3: While your frame is drying take your glass and trace it on your scrapbooking paper.
Step 4: Cut out your four squares..
Step 5: Put your B U G S on each of them.
Step 6: Now that your frame is dry...sand the edges and give it the weathered look.
Step 7: Distress your edges with ink!!
Step 8: Put your glass & paper back into the frame.
Step 9: Embellish away!! My favorite part....
Flowers & of course {buttons}
also some Ribbon!! :)
Step 10: Stand back and marvel!! SOOO cute!
Set it on a shelf, counter, wall...wherever you want!!
{bugs}