Showing posts with label wood craft. Show all posts

Thursday, June 23, 2011

Simple Reminder...

I need simple reminders in my life. Little sayings or little pictures or such to help me through the days that may be tough! So I was creating a vinyl quote for a friend of mine and after creating part of it I fell in love with it! So I threw in on a board and have it on a tile stand to see everyday! Here is what I did :)

Item's Needed:

1-1x10x10

Paint

Paint brush

Sandpaper

Vinyl Quote

Black material

Rhinestones

Ink


Step 1: Paint your 1x10x10 with the color of your choice. I used a tan color! Let it dry very thoroughly!

Step 2: Take your board and sand the edges down really well....using your ink you can distress it up! :)

Step 3: Place your vinyl on where you want and press it on.

Step 4: Make 3 rosettes out of your material of choice...I used just plain black material. Hot glue them on underneath the quote and glue the rhinestones on as well.

Step 5: Hang it up or put it on a tile stand and Enjoy!


Love it!! :) Simple Reminders....

Wednesday, January 19, 2011

Valentine Stacker...

I have been trying to use up a bunch of my scrap wood...(my pile is taking up a large section of the garage) :) So....I went out and looked at what I had and came up with this project! :) I love how it turned out...although the colors I'm still not sure! But it looks cute on my shelf!!! So here is how I did it!
{Valentine Stacker}
Item's Needed:
3 pieces of wood these are 2x2's I believe- 6in, 8in, & 10in.
Paint (3 colors)
Paint Brush
Sandpaper
Ink
Vinyl words
Wire
Picture

Step 1: Take your 3 pieces of wood and paint them with your 3 colors of paint!
Step 2: Let them dry really well
Step 3: Using your sandpaper and ink...distress the heck outta them!! :)
Step 4: Take your transfer tape and vinyl and apply your words to the 3 blocks.
Step 5: Take your wire and wrap it twice around all 3 blocks and then twist it at the top.
Make little "swirls" on top (2) like so:
Step 6: Find a cute pic of you and your sweetheart, or your sweetheart kiddos and put it in the swirls :)
Set it on your shelf and enjoy!! :) {LOVE} it!!!!

{Valentine Stacker}

Thursday, January 13, 2011

{Bee} Mine...

{Love} Day is just around the corner! Man this month is flying by!! I love Valentine's day for many of reasons. I {love} making little things for my kiddos and daycare kiddos and I love the pinks and reds!:) So the other day I was diggin through my pile of scraps! I found 5 different sized blocks and came up with this {Bee} Mine project. Now I'm not extremely fond of the little "bee" I did above the "I" but..oh well you win some you lose some! All in all in turned out pretty cute! So this is how I did it:
{Bee} Mine
Items Needed:
5 different size blocks of wood (honestly couldn't tell you the measurements) :)
Paint
Sandpaper
Paint brush
Vinyl
Embellishments
Paper to make your "Bee"
Mod Podge
Ink
Step 1: Take your 5 blocks and figure out how you want to stand them...I played with mine a few different ways and decided on a set up. Then decide what colors of paint you want to do!
Step 2: Paint your blocks the different colors you want. The two colors of pinks were mixed pinks and reds and whites! They turned out that color so I went with it :)
Step 3: After they dry very thoroughly..sand and ink your edges all up!
Step 4: Take your vinyl letters and place them onto the blocks
Step 5: Embellish (My favorite part) :)
Step 6: Make your bee...I just cut a small oval-ish shape for the body, some stripes out of a different color of pink, then a head and some wings...inked it up and mod podged it all together and onto the block!
Step 7: Set them up and display!! Yay! So cute :)


Monday, October 11, 2010

Halloween Subway Art...

My new love {subway art}! There are so many fun things you can do with subway art for any holiday or season or well...anything!! My first one I did was a Halloween one! I have many different ideas for a thanksgiving one, christmas, wedding....your options are endless!!! Here is how I made the Halloween one!!
{Halloween Subway Art}
Item's Needed:
1- piece of any size board...I used a square scrap piece of wood I had
White Paint
Orange paint
Paint brush
Vinyl lettering with lots of Halloween words
Sand Paper

Here is a Step by Step of what I did!
Step 1: Take your scrap piece of wood/board and paint it with a good coat of white.
Step 2: After your white paint drys/ Streak with a napkin or cloth with Orange paint
Step 3: Sand it down! Distress and weather it all up!
Step 4: Start by laying your lettering on to see what fits best...you can play with it, turn it different directions and then once you love what you see start applying it on to the wood!
Step 5: Take a stand and set it on a shelf next to your other Halloween decor or wherever you please and ENJOY!!!!
Have Fun!! :)

Tuesday, August 17, 2010

Stackers...

Love these stackers! They are so fun to make and are really simple! :) Here is how I did them!
{Stackers}
Item's Needed:
2- 2x4x6 wood blocks
2-2x4x4 blocks
Sand Paper
2 coordinating paints
Vinyl or Rub on lettering "Love at Home"
Buttons/ Ribbon
Ink (if you want)
Paint Brushes
Step 1: Take your wood blocks all 4 of them...
Step 2: Paint them... Each set needs to be the same color...I did the smaller blocks- green and the larger blocks- tan!

Step 3: Let them dry very well!
Step 4: Sand down the edges and such to give them that loved weathered look :)
Step 5: Ink the edges...if you are frugile (cheap) like me you can use a stamp pad and a napkin to get the same effect!!
Step 6: Apply your vinyl or rub-on lettering like so...
Step 7: Decor them up! Use Buttons/ Ribbon/ Flowers whatever you want!!


Step 8: Stand them up like so and enjoy!! Aren't the super cute?!!?

There are so many ways to do these!! Here is the summer set I made as well!! They are so fun :)

I will have some items up for sale on the side bar on the right in a few days. Some of these stackers are for sale as well!! Let me know in the comments or you can email me if you want something...More Details to Follow!! :)

Sunday, July 11, 2010

Laundry...

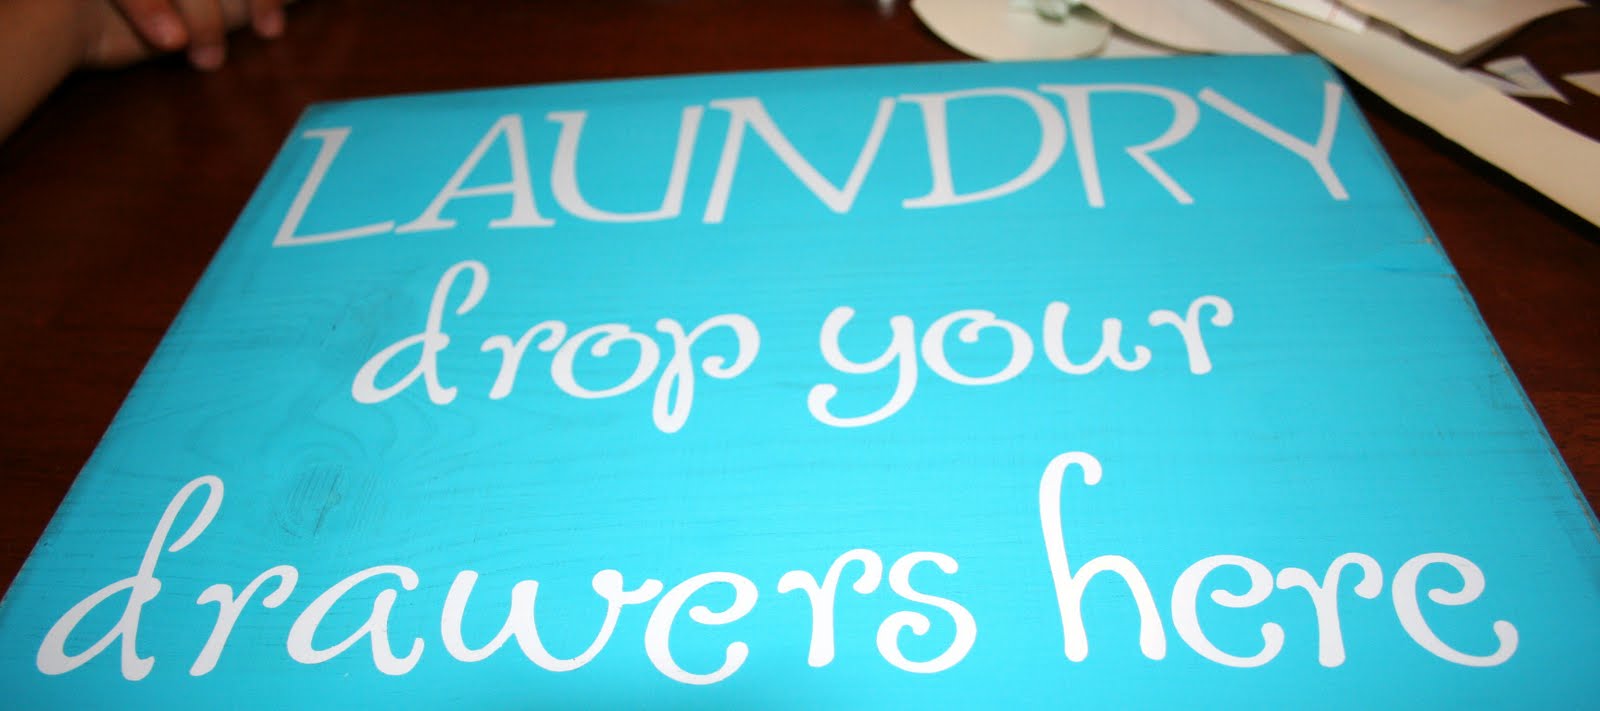
This is a simple and fun decoration for your laundry room/area!! It's very easy to make and turned out super cute!! :) Here's how I did it:

{Laundry}
Item's Needed:
1- board...any size you want
Paint
Paint Brush
Vinyl Wording or Stencil
Twine
1- med. clothespin
Ink
Sanding Block
Step 1: Take your board and paint it...mine is a bright Turquoise!!

Step 2: After it has dried really well take your sanding block and sand your edges down to give it
the weathered look.
Step 3: After sanding take your stamp pad (if your cheap like me :) ) or your distressing ink and ink the sides of the board a bit!
Step 4: Next take your lettering or stencils and place them all on the board. The saying for this board is "Laundry, Drop your Drawers here!"
All put on!
Step 5: Take your twine and clothespin and tie it around the bottom/side/or top of the board whatever you choose! (I didn't leave the arrow on the board...I decided I didn't like it!!)
Last hang it up and stand back and Enjoy!! :)
{laundry}

Tuesday, April 13, 2010

Black & Pink...

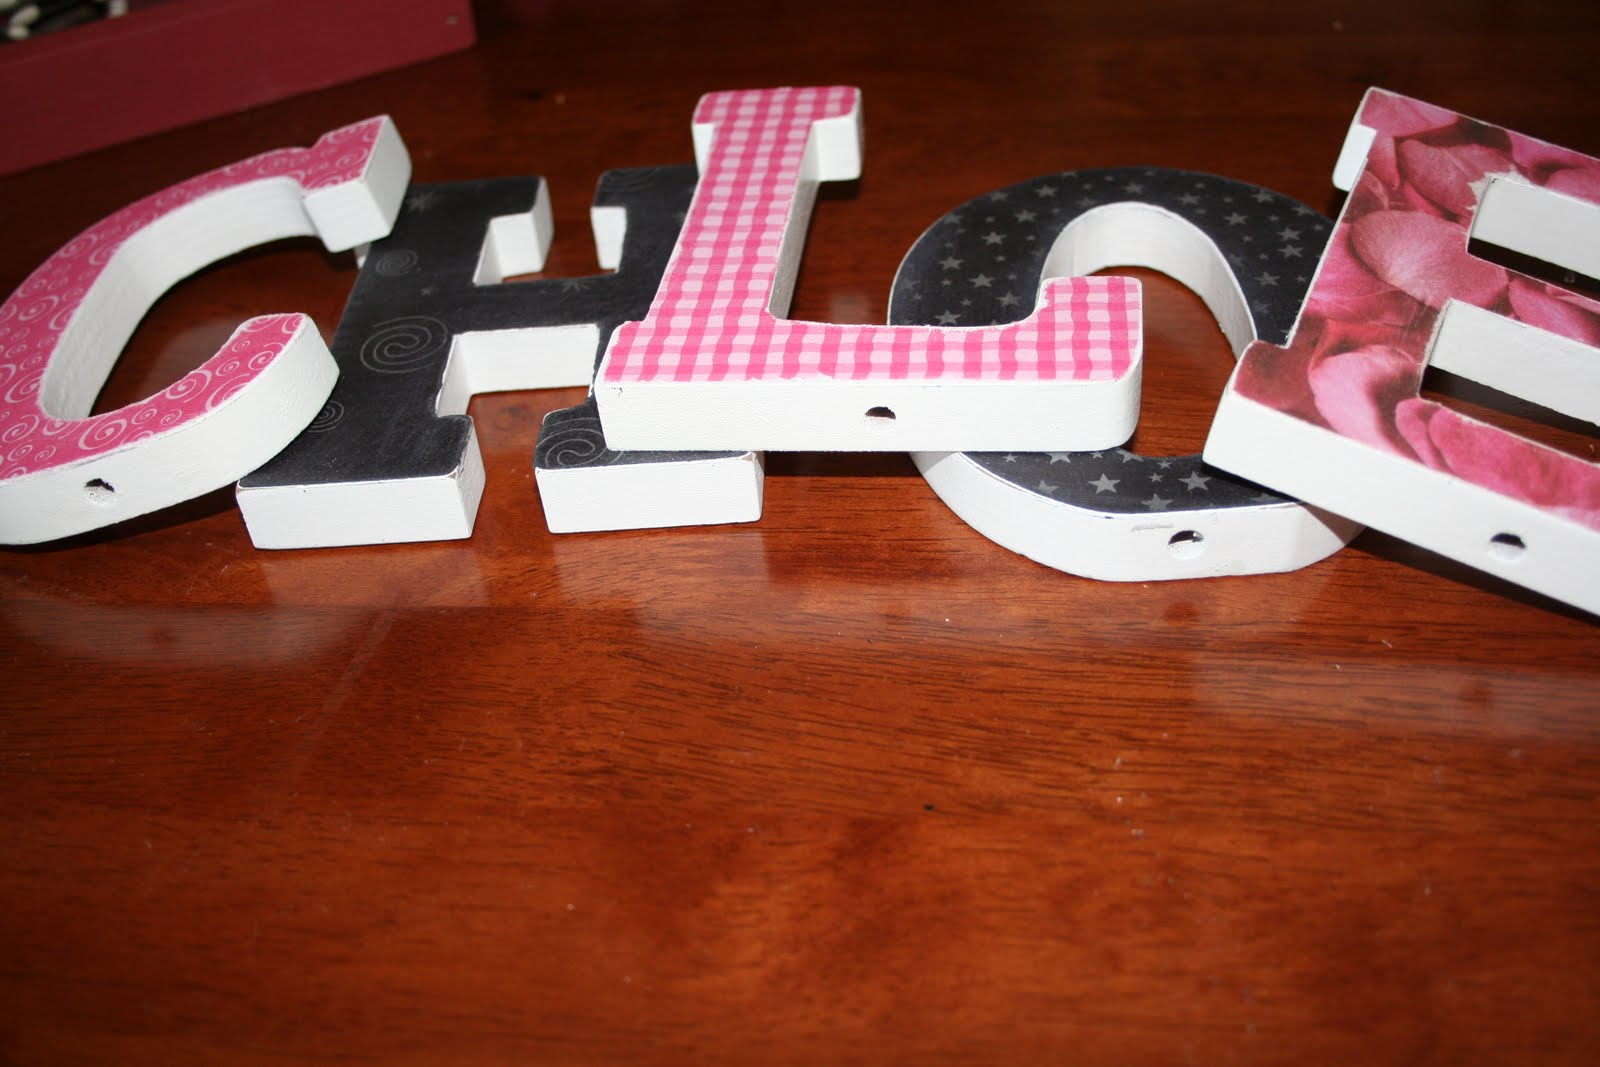
Our Sissy has had her name in the white wooden blocks up in her room for some time...but they are soo plain! So I decided to do them {black & pink} to match her room!!! They turned out sooo super cute! I love them! Here is how I did them:

{black & pink}
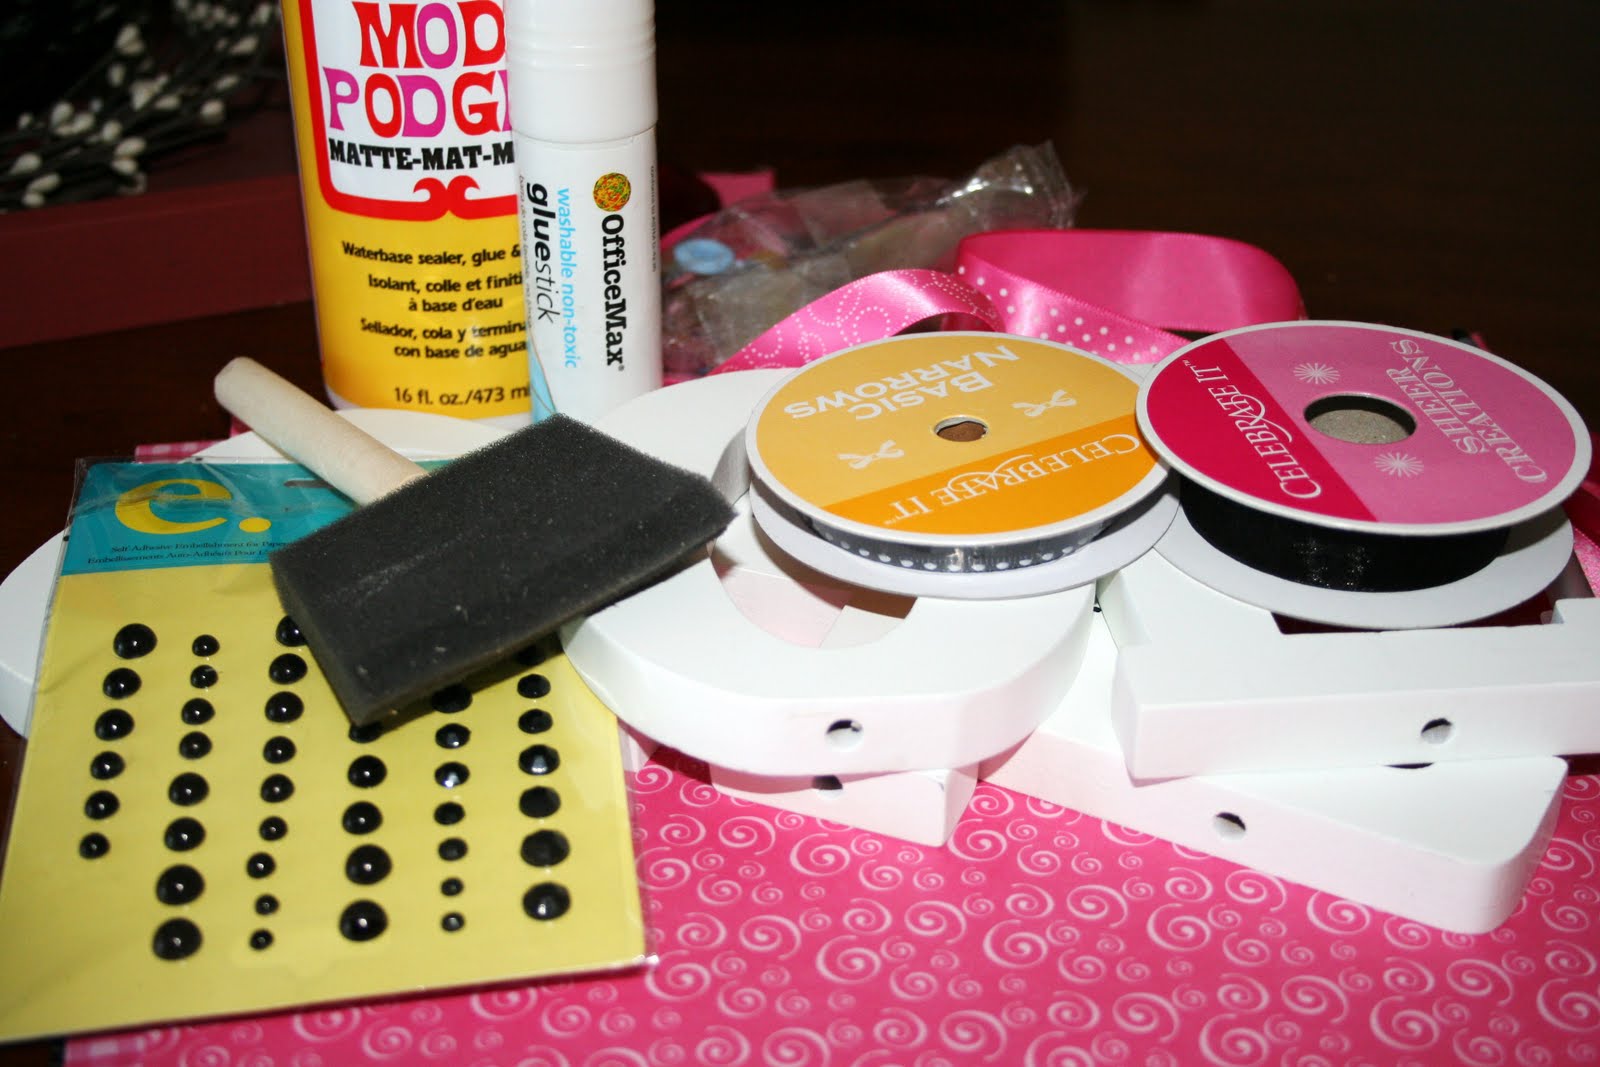
Item's Needed:
White Letters for your childs name
Coordinating Scrapbook paper
Mod Podge
Paint Brush
Glue
Sanding Block
Razor Blade
Embellishments
Step 1: Take each of your letters, lay them face down on the backside of your scrapbooking paper and trace them.
Step 2: Cut all of them out.
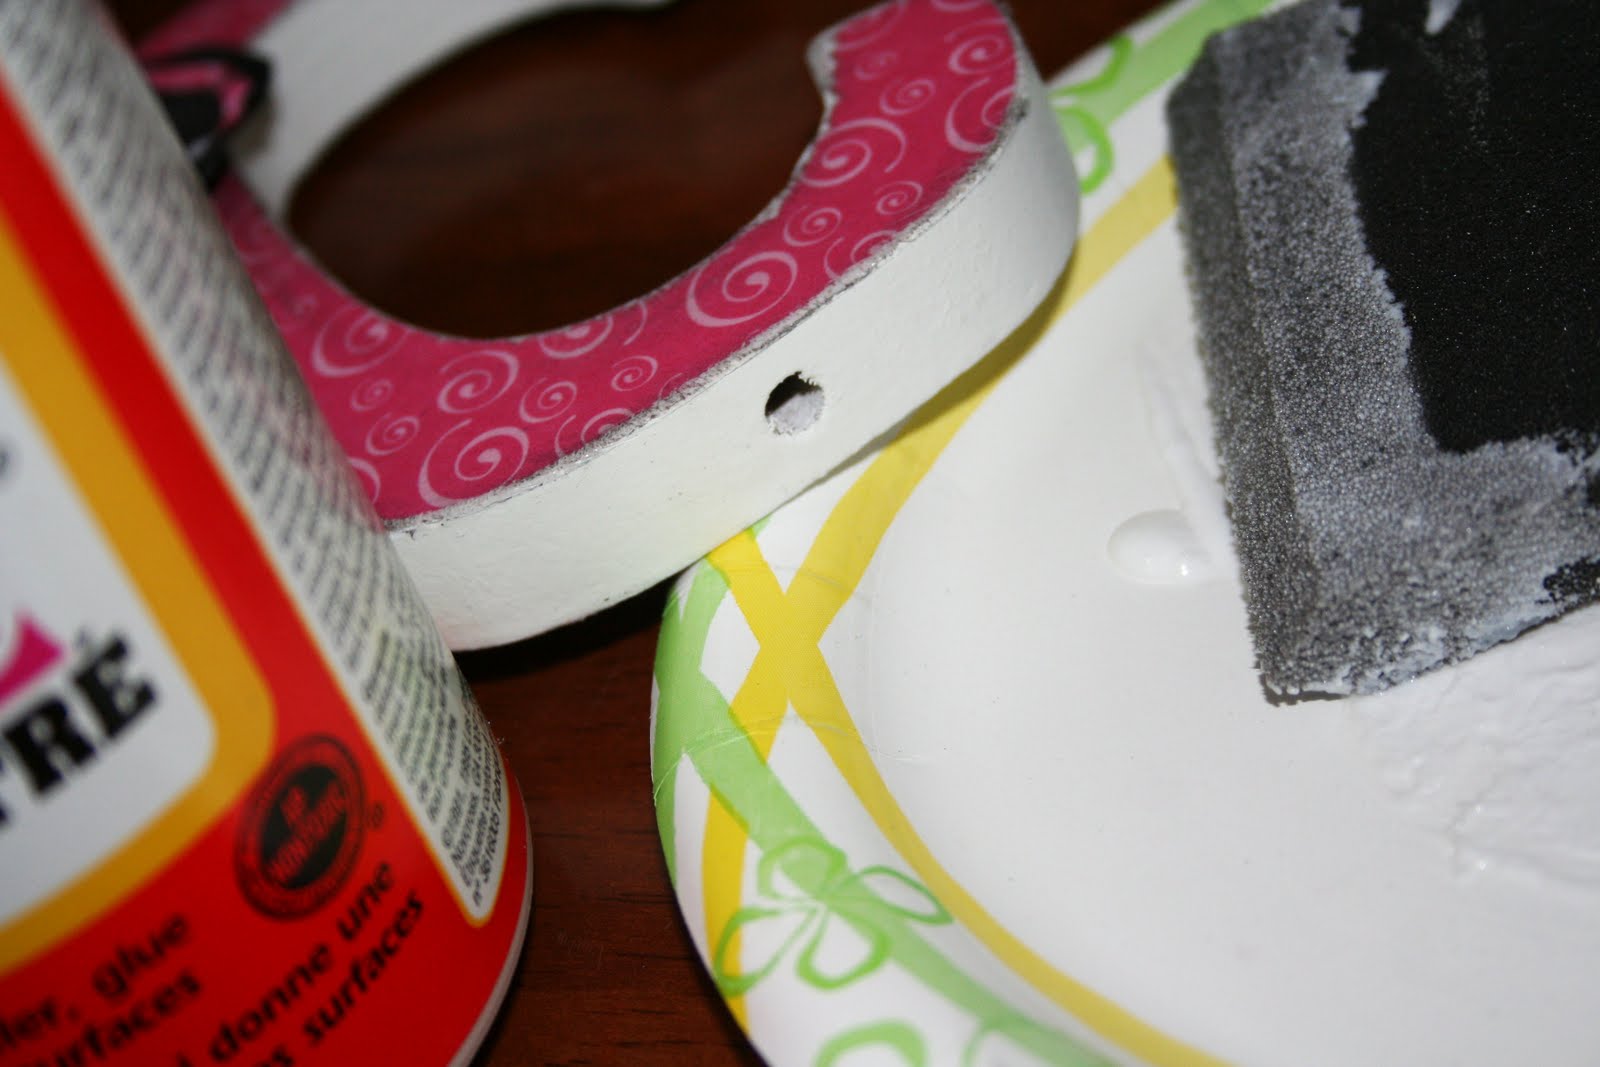
Step 3: Do a thin layer of Mod Podge on your wooden letter and lay your paper onto the letter...press it firmly to make sure there are no air bubbles!
Step 4: Let all of them dry really well!!
Step 5: Mine weren't perfect and had to be trimmed up around the edges...so I used a Razor Blade to do so...
Step 6: Sand the edges of your block and paper to make them blend better...it also leaves a little white edge around it and is soo cute! Also if you wanted to distress them..now is the time to do it!

All sanded and ready to embellishStep 7: Do a layer of Mod podge over top every of your letters to secure the paper on
Step 8: Embellish them as you wish...buttons ribbon, and paper flowers (My new love!) (tutorial soon to show you how to make these babies)
Every letter can be the same or different...


Let them all dry very well and Enjoy!!! :)
I can't help but smile everytime I look at them they are perfect for her room!!! :)
{black & pink}

Wednesday, April 7, 2010

bugs...

I keep thinking if I do more and more Spring crafts maybe it will get here and stay?! I don't think its working but the crafts are dang cute!! Here is Spring craft up I came up with last night!!
{bugs}
Item's Needed:
1- old frame with 4 windows in it..or 4 small seperate frames
1- piece of springy scrapbooking paper
The Letters B, U, G, S in vinyl or rub on lettering
Green Paint
Paint brush
Embellishments
Stamp Pad/Distressing Ink
Paint brushes
Scissors
Sanding block
Step 1: Take your old frame or seperate frames and sand them down a little bit.
Step 2: Paint your frame...i had to do about 3 coats to cover the brown.
Step 3: While your frame is drying take your glass and trace it on your scrapbooking paper.
Step 4: Cut out your four squares..
Step 5: Put your B U G S on each of them.
Step 6: Now that your frame is dry...sand the edges and give it the weathered look.
Step 7: Distress your edges with ink!!
Step 8: Put your glass & paper back into the frame.
Step 9: Embellish away!! My favorite part....
Flowers & of course {buttons}
also some Ribbon!! :)
Step 10: Stand back and marvel!! SOOO cute!
Set it on a shelf, counter, wall...wherever you want!!
{bugs}