{Trick or Treat}
Item's Needed:
1 (or however many you need) Canvas tote ( I got mine at the Dollar Tree)
1- piece of felt
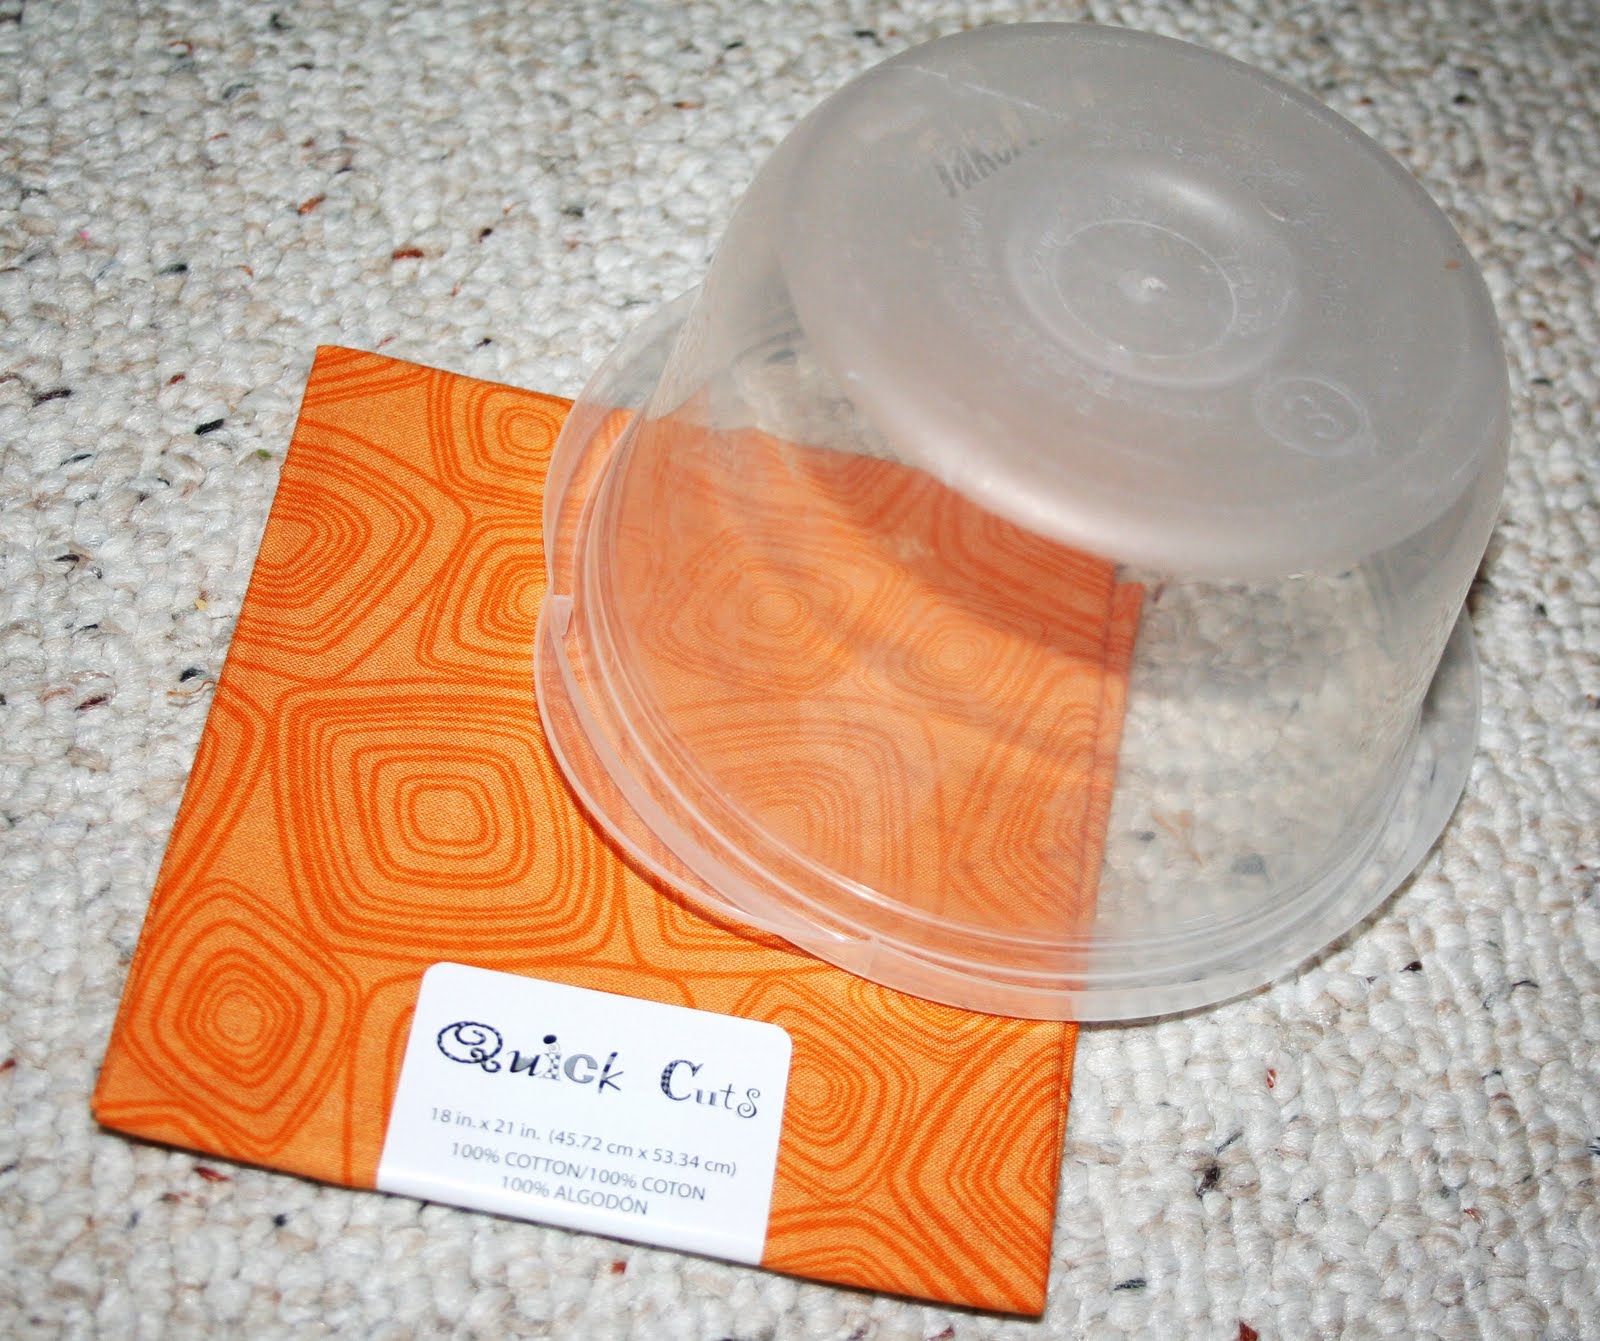
1- Quick Cut of orange fabric...or extra Halloweenish fabric you may have :)
1- embroidery floss/ black
Hot Glue Gun/ Glue
Halloween Ribbon
Step 1: Take your canvas bag/ bag from the Dollar Tree and lay it out flat. Figure out how big you want your circle!! On this bag there was a flower with sequians on it but I covered it up with the fabric!! No problemo!

Step 2: Take your circle object after you have decided how big you want the circle. Trace your object onto your material and cut it out.
 Step 3: Take Heat n' bond and Iron your material to the bag. Then using your embroidery floss stitch all around the circle. I did uneven stitches...I love uneven and different :)
 Step 4: Take your felt and trace the first letter of your child's nap onto it and cut it out. Using your glue gun glue the letter to the middle of the circle.
 Step 5: Next take your ribbon and cut different lengths out and tie them to the handle.
 Enjoy :) SOOO Cute!
 I have to finish the embroidery flossing on 2 of them and add the ribbon and I am done!! :)
 {Trick or Treat}


No comments:
Post a Comment