{Clipboard Chalkboard}
Item's Needed:
1- Regular sized chalkboard
1-Can of Rust-Oleum Chalkboard spray
Paint of your choice
Paint brush
Coordinating Scrapbook Paper
Coordinating Ribbon and Buttons
Mod Podge
File
4-5 sheets of cardstock and masking tape
Razor Blade
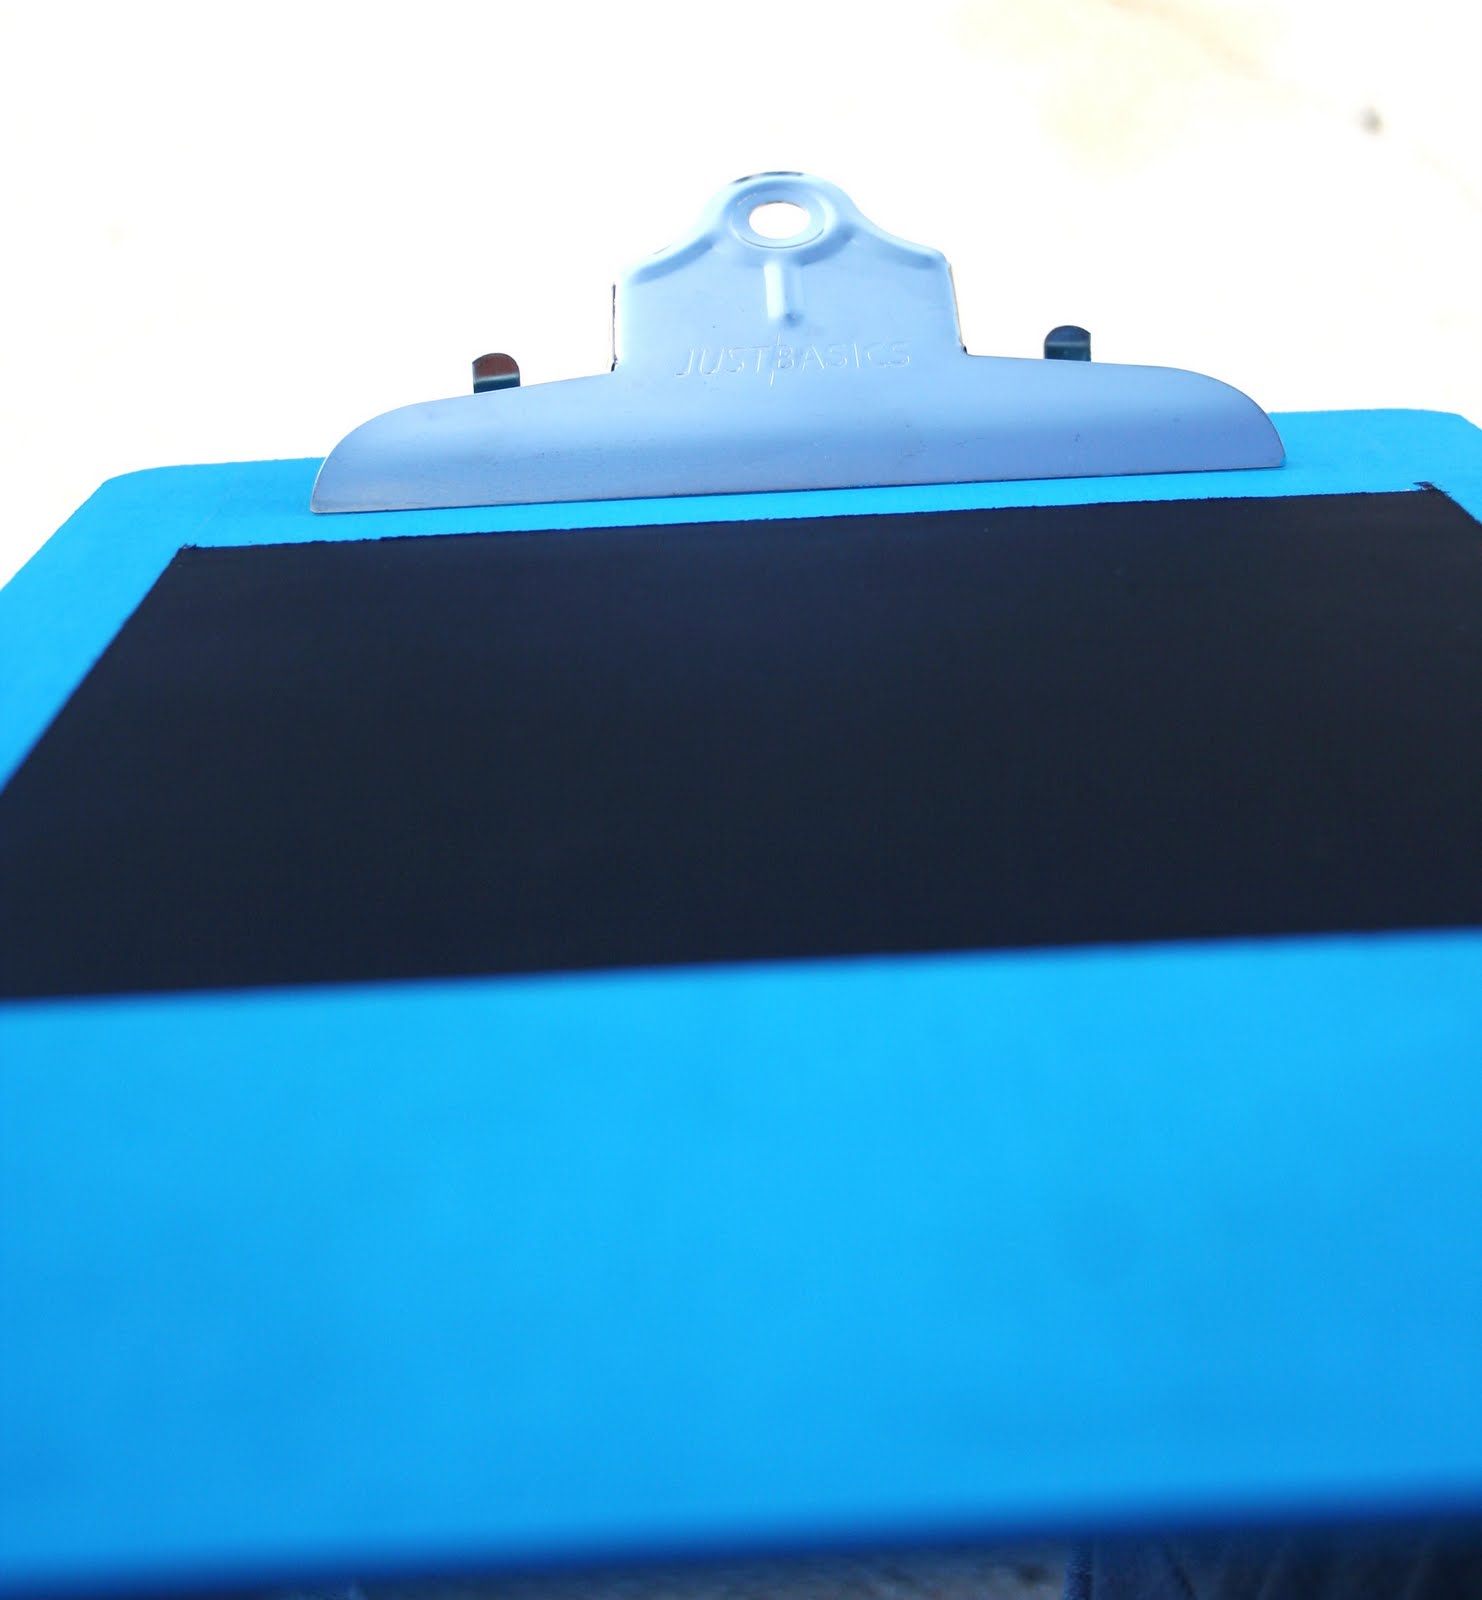
 Step 1: Start by painting your clipboard, this can be a tricky process with the "clip" part but
 paint slowly around it and it can be done!! :) You will have to do 2-3 coats!
 Step 2: After your clipboard drys really well...tape off the size of square that you want to be the "chalkboard" part of the clipboard. I used the cardstock and masking tape for this and it worked great :)
Step 3: Take and shake your can of chalkboard paint as instructed...then spray even strokes back and forth overlapping a bit until you sprayed the whole area. Let it sit for 3-5 mins and then repeat this 3 times.
 Step 4: After the 3rd spray...let it sit for 5-10 mins and then carefully pull of your tape and paper...it may bleed a tiny bit but you can easily touch it up with paint :) Let the chalkboard spray dry for at least 24 hrs!!
 Step 5: Measure your scrapbook paper on the bottom of your clipboard under the chalkboard square... you can do it however much paper you want!!
 Step 6: Using your Mod Podge...Mod Podge the paper to the clipboard and let it dry. After it drys I trimmed up the uneven edges with a razor blade and then filed the paper down to match up nicely with the clipboard!!
  Step 7: Tie your coordinating ribbon in the hole of the "clip"
 Step 8: glue or mod podge on your strip of ribbon over the top of your paper and
then add your {buttons}

 Step 9: Add your child's name (optional) in vinyl or paper on the bottom scrapbook strip. I added our Big Man's name to make it "his" Then you have your finished product!! I {love} it!!!
 Step 10: Make a cute coordinating card...package it up if needed with a few of their favorite things. We added a box of regular chalk and a box of colored chalk and some Jolly Ranchers!! He loved it and I am so excited for him to be able to use it for his math, spelling or anything!!!


 Step 9: Add your child's name (optional) in vinyl or paper on the bottom scrapbook strip. I added our Big Man's name to make it "his" Then you have your finished product!! I {love} it!!!
 Step 10: Make a cute coordinating card...package it up if needed with a few of their favorite things. We added a box of regular chalk and a box of colored chalk and some Jolly Ranchers!! He loved it and I am so excited for him to be able to use it for his math, spelling or anything!!!
{Clipboard Chalkboard}