Step 2: Take one of the pieces of the longest ribbon. Fold in one end to the middle and glue, do the same with the other end.
  It will look like this:
 Step 3: Do that to all 3 pieces and then glue them together like so:
 Step 4: Take your next layer of ribbons (3 of them) and glue them the same way.
 Step 5: Glue them together like so:
 Step 6: Glue your layers together
 Step 7: Do the same with your third layer (2 pieces)(black in this photo) and then make a figure eight with the top piece and glue all the layers together.
 Step 8: Glue a large button that matches to the top. I made a set! Also glue an alligator clip to the back of your cute bow and ENJOY!!:)
 Step 9: Get busy cutting ribbon and make a bunch! Here is what I did in one sitting! They are so fun :) One piece of advice that helped me to get down faster was to cut all the ribbon first and then sit and glue them!! :)
 {Flower Bow}
 Step 1: Take your frame and your piece of scrapbooking paper and put the paper infront of the glass like so:
  Step 2: Next take your flower off the stem and so it is in layers...Using your glue gun take each layer and glue in to the paper...then glue the center on.
 Step 3: Take your buttons and glue them on the frame
 Step 4: Stand it up and enjoy! Super cute for your lil ones room! :)
 {Framed Flower}
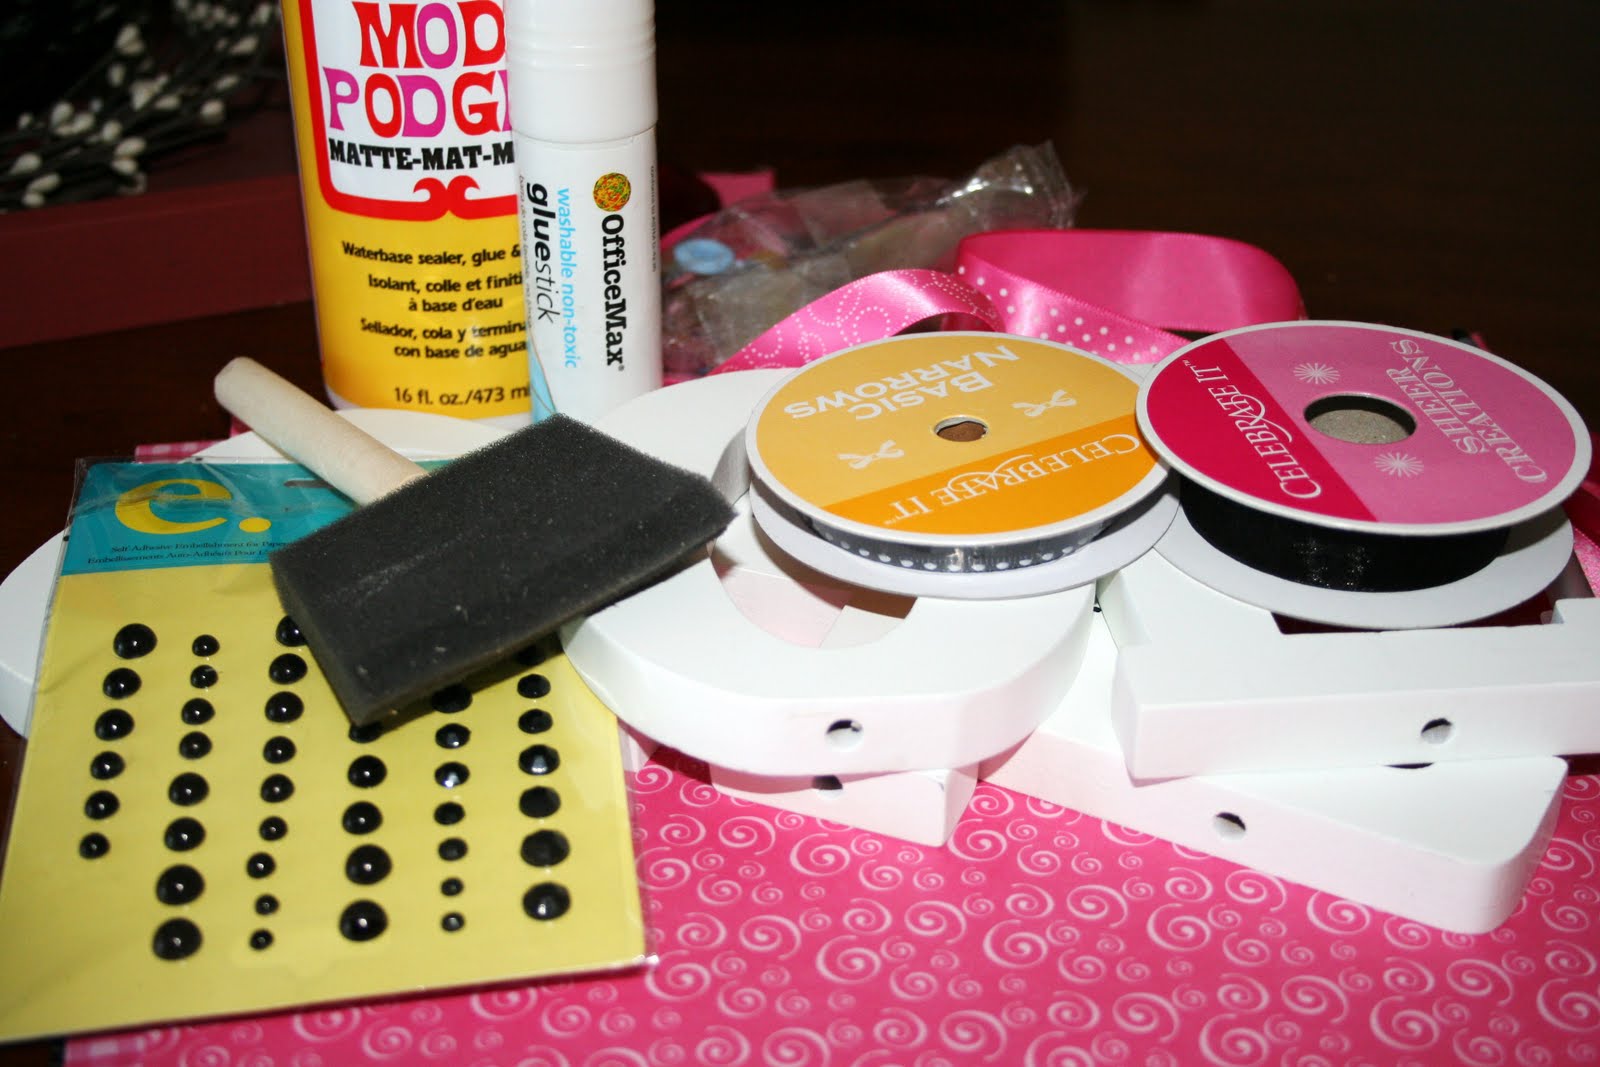 Step 1: Take each of your letters, lay them face down on the backside of your scrapbooking paper and trace them.
 Step 2: Cut all of them out.
 Step 3: Do a thin layer of Mod Podge on your wooden letter and lay your paper onto the letter...press it firmly to make sure there are no air bubbles!
 Step 4: Let all of them dry really well!!
 Step 5: Mine weren't perfect and had to be trimmed up around the edges...so I used a Razor Blade to do so...
 Step 6: Sand the edges of your block and paper to make them blend better...it also leaves a little white edge around it and is soo cute! Also if you wanted to distress them..now is the time to do it!
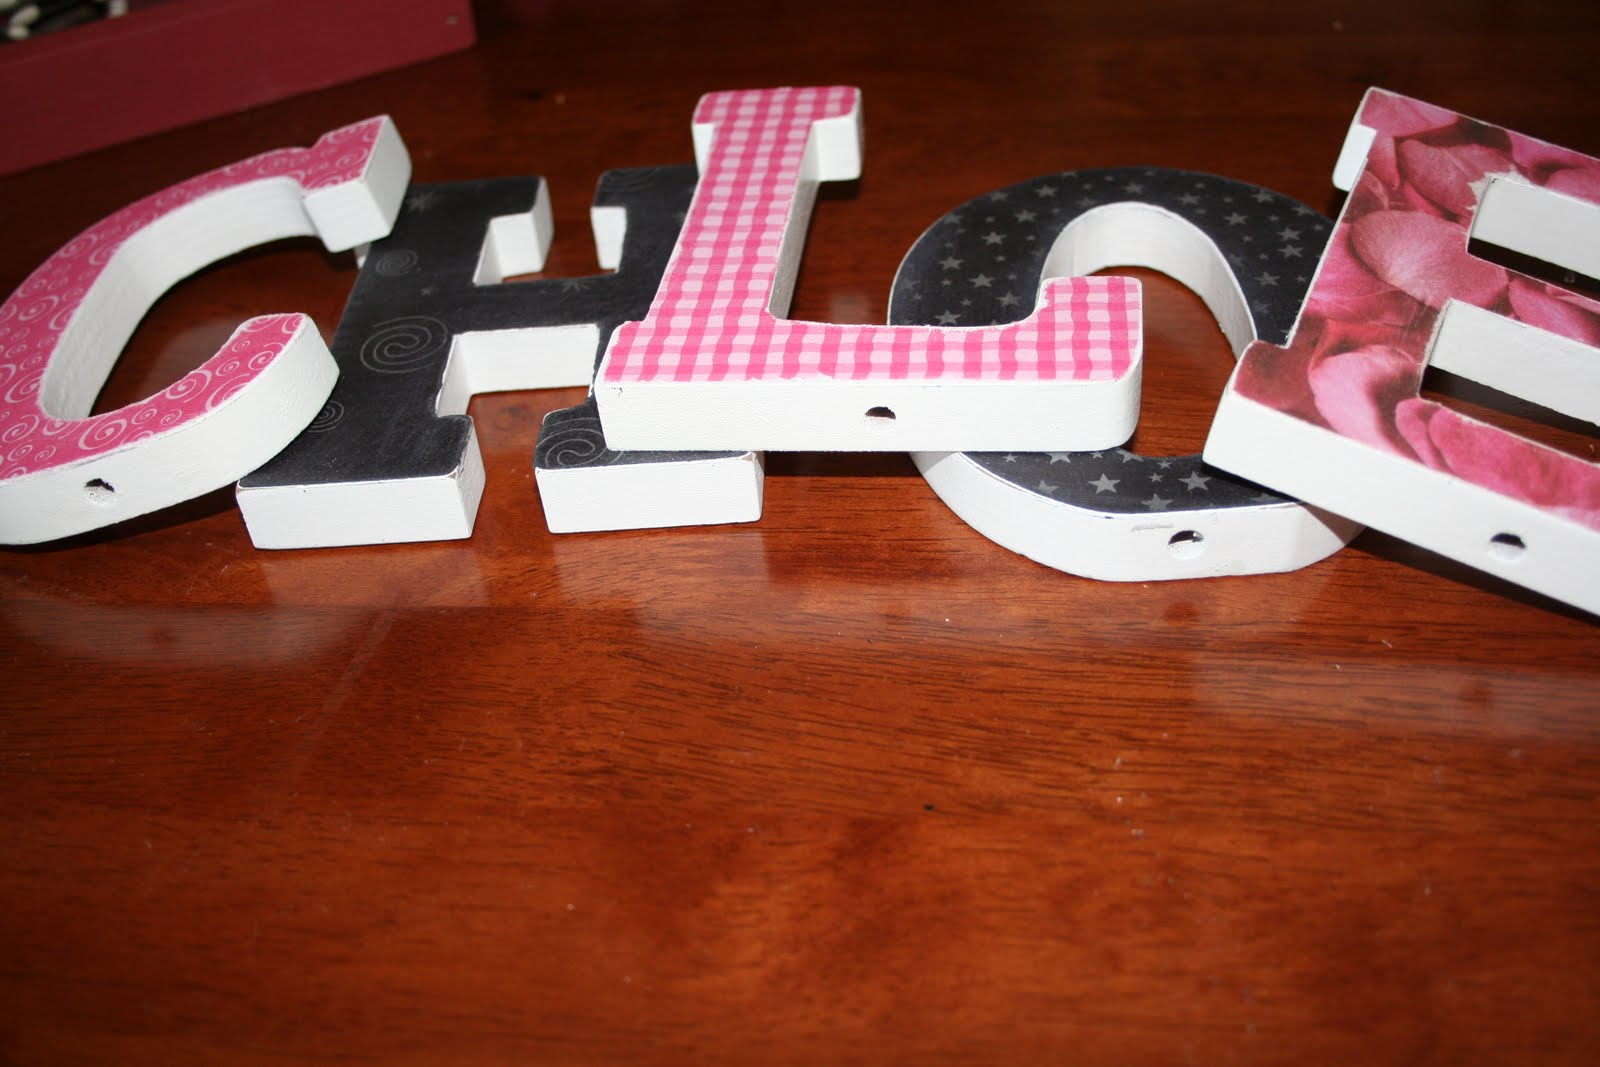 Step 7: Do a layer of Mod podge over top every of your letters to secure the paper on
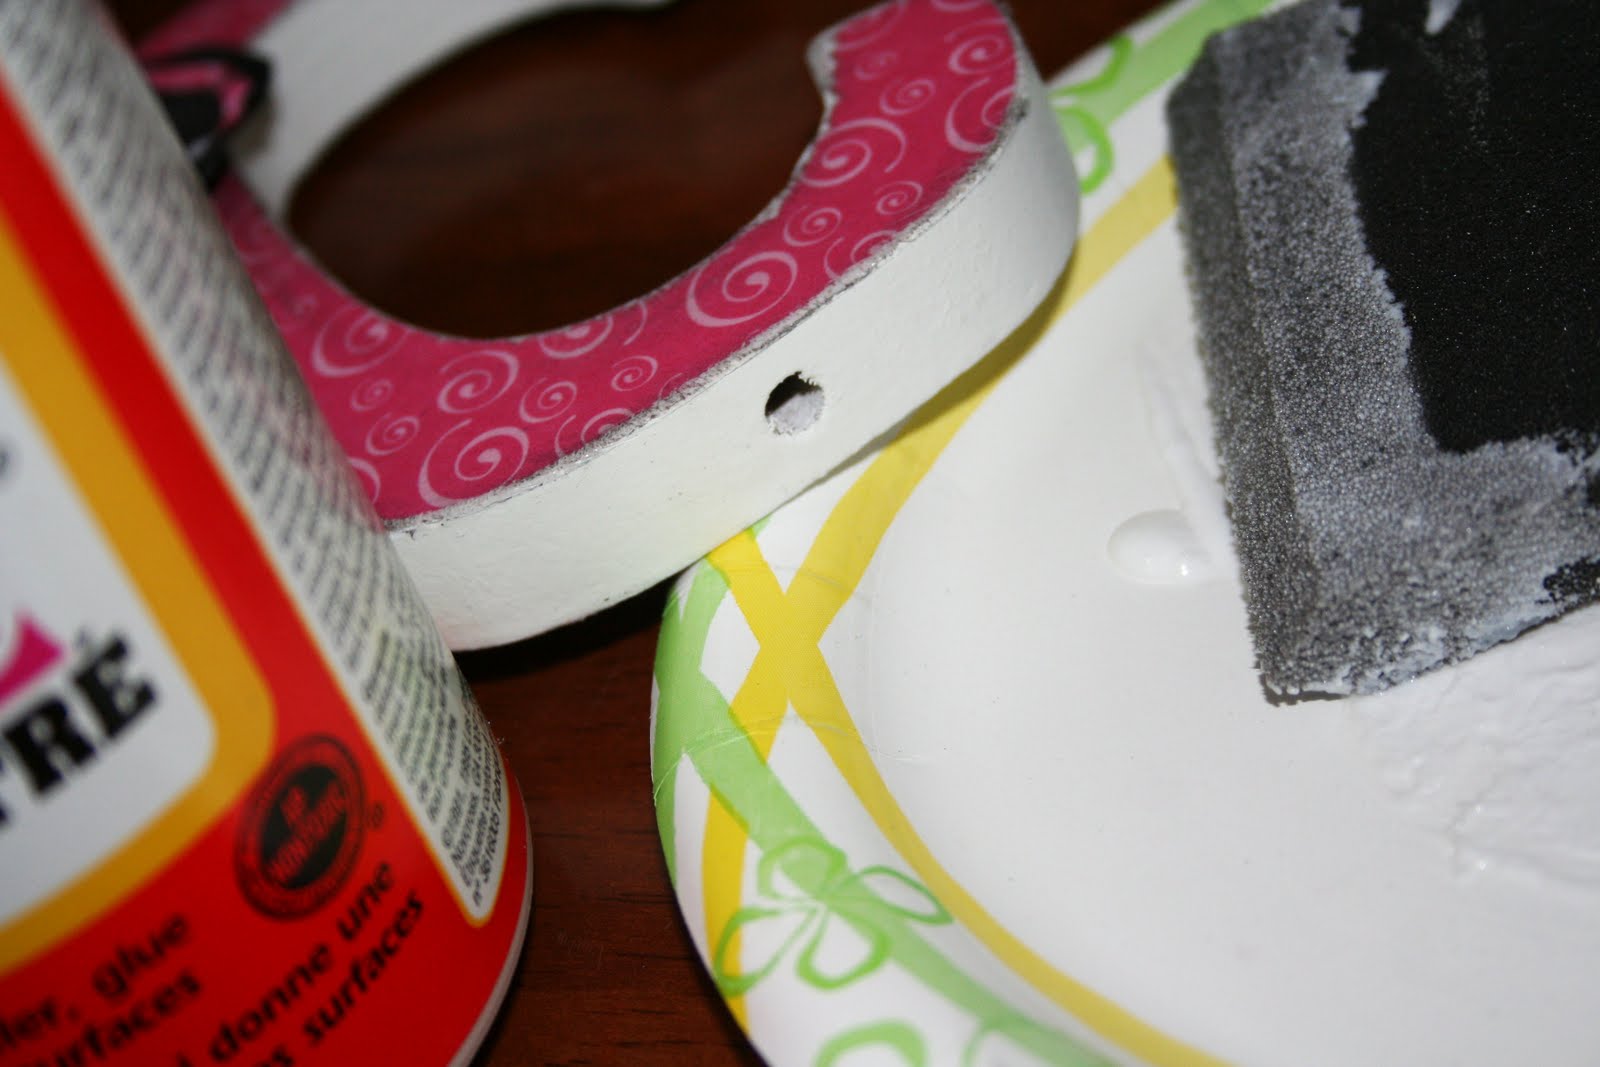 Step 8: Embellish them as you wish...buttons ribbon, and paper flowers (My new love!) (tutorial soon to show you how to make these babies)
 Every letter can be the same or different...

 Let them all dry very well and Enjoy!!! :)
 I can't help but smile everytime I look at them they are perfect for her room!!! :)
 {black & pink}
 Step 1: Take your ends/fasteners and your stretchy cord..
 Step 2: Measure and cut the amount of stretchy cord you need...I made sure to have
  Step 3: Tie your end to the end of the stretchy cord.
 Step 4: start stringing your beads...I did different patterns for each one.
 Step 5: Tie your other part of the fastener to the opposite end of the string.
 Step 6: Take and put it on your cute little ones arm!!
 Step 7: Make a bunch of different colors to match every outfit! :) Love them!
 {girlie bracelets}